If you recently bought Starlink, you might be wondering how to Starlink Setup and install it at home. The good news is that the Starlink setup is very simple compared to traditional satellite internet. In most cases, you can install it yourself in 10–20 minutes
This guide will show you how to install Starlink step-by-step, even if you have never installed satellite internet before.
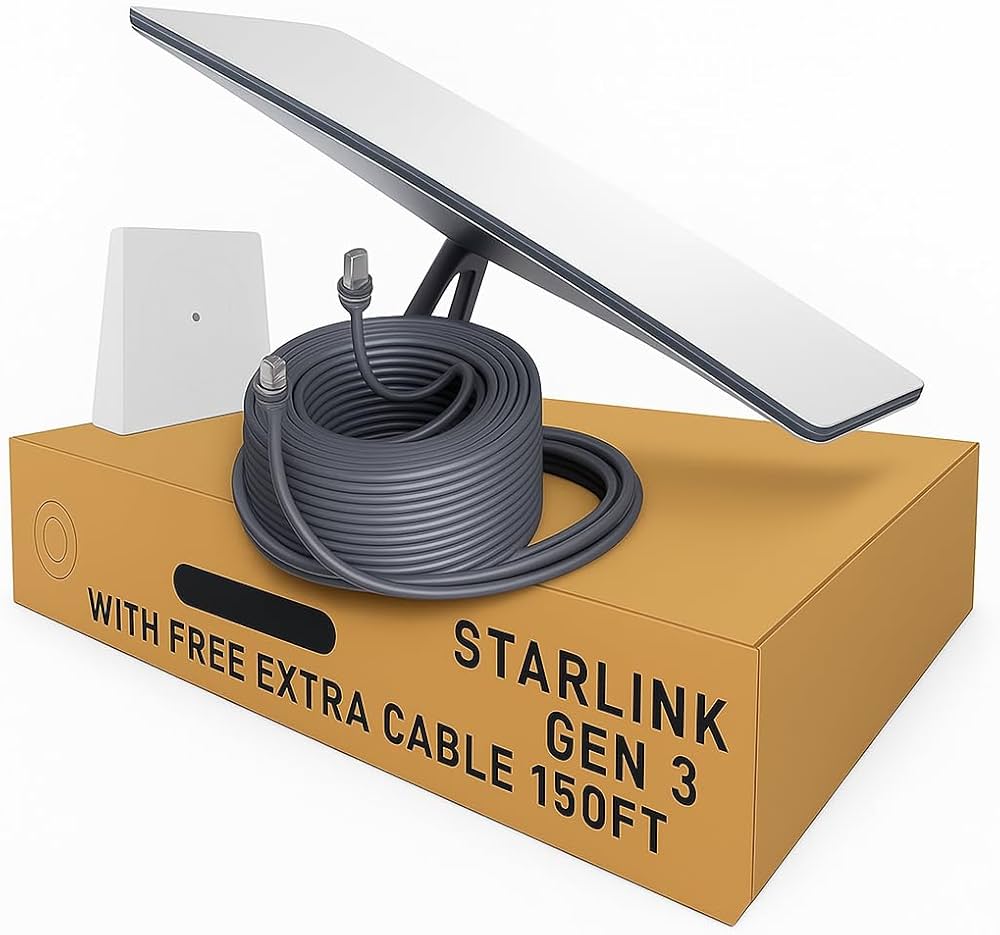
What Comes in the Starlink Kit?
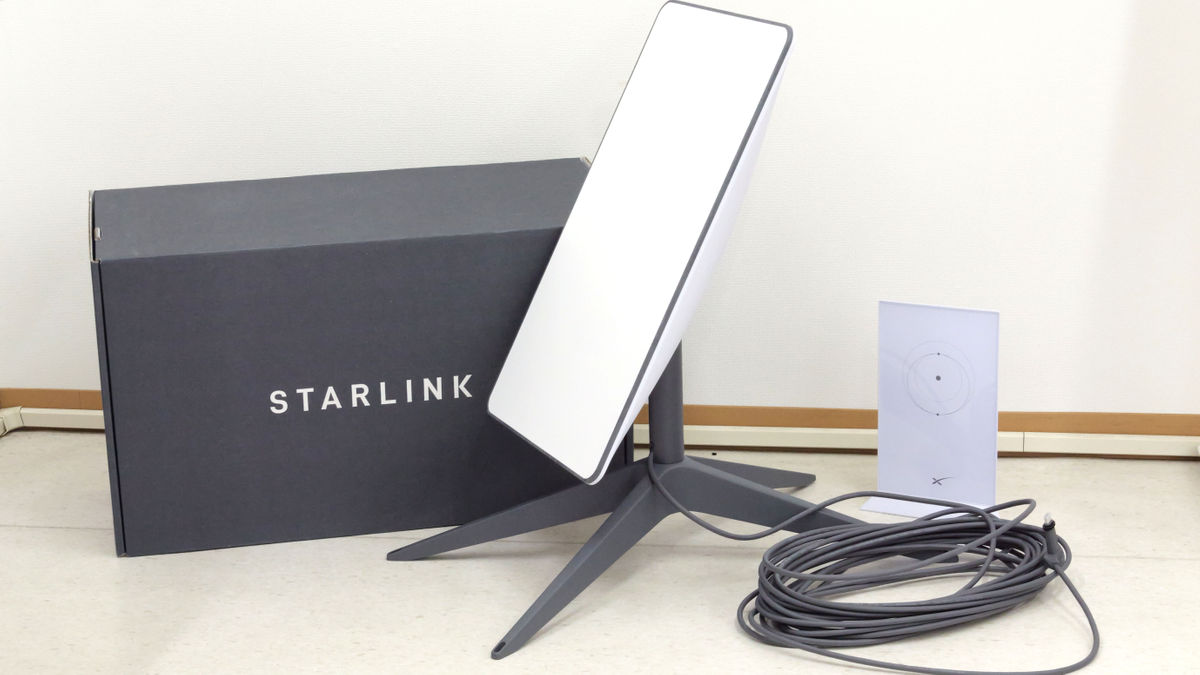
When you receive your Starlink package, the box usually contains:
- Starlink satellite dish
- Wi-Fi router
- Power cable
- Starlink cable
- Base stand or tripod
Everything you need for installation is included in the kit.
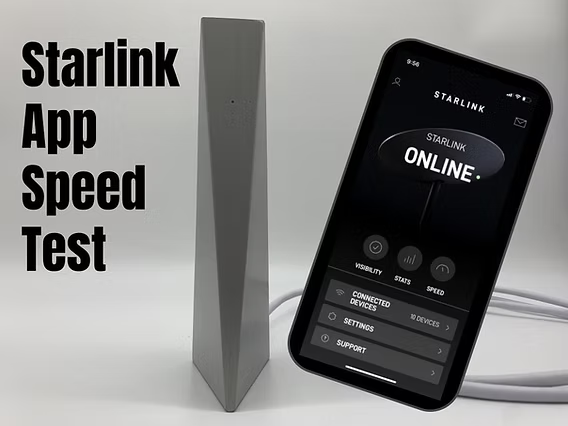
Step 1: Download the Starlink App
Before installing the dish, download the Starlink App.
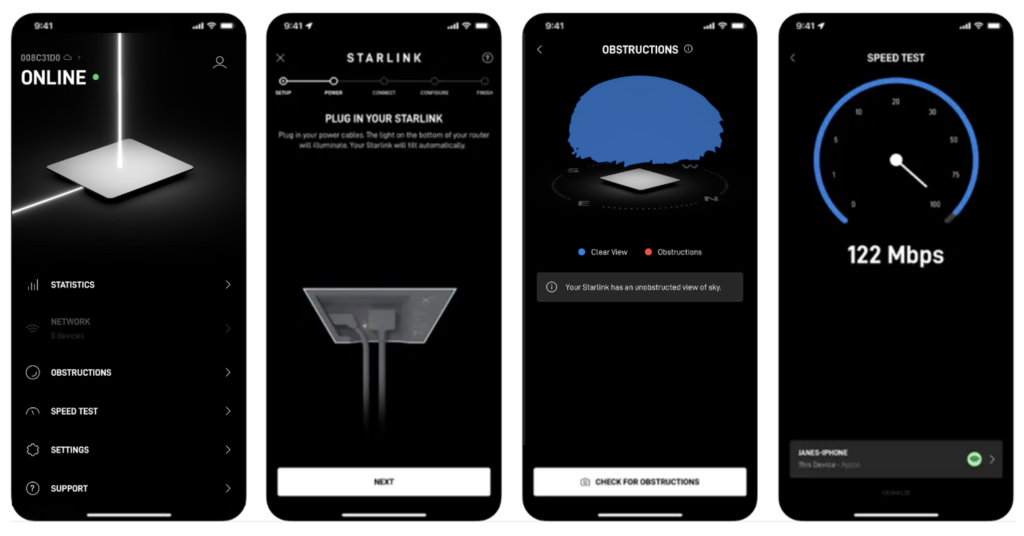
The app helps you:
- Find the best location for the dish
- Check for signal obstructions
- Monitor internet speed
The app is available for Android and iPhone.
Step 2: Find a Clear View of the Sky
4
Starlink satellites move across the sky, so your dish needs a clear view of the sky.
Avoid placing the dish near:
- Tall trees
- Buildings
- Walls
- Power poles
The Starlink app has an obstruction checker that helps you choose the best location.
Step 3: Connect the Starlink Hardware
Now it’s time to connect your equipment.
Follow these simple steps:
- Place the Starlink dish on the stand
- Connect the dish cable to the router
- Plug the router into a power outlet
- Wait for the dish to automatically align
The dish will automatically move and find satellites.
You don’t need to manually adjust anything.
Step 4: Connect to Wi-Fi
Once the system starts working:
- Open your phone Wi-Fi settings
- Connect to the Starlink network
- Create your Wi-Fi name and password
After that, your internet will be ready to use.
Typical setup time: 15 minutes.
Starlink Internet Speed After Setup
After installation, most users get speeds between:
- 50 Mbps – 250 Mbps download
- 10 Mbps – 30 Mbps upload
Speed depends on:
- Location
- Network congestion
- Weather conditions
Common Starlink Setup Problems
1. Obstruction Errors
Trees or buildings blocking the dish can reduce signal quality.
Solution: Move the dish to a higher or clearer location.
2. Slow Internet Speed
Sometimes speeds are slower during peak hours.
Solution: Restart the router using the app.
3. Dish Not Moving
Make sure all cables are connected properly.
Is Professional Installation Needed?
No. Most users install Starlink themselves.
However, you may need professional installation if:
- You want a roof mount
- You need long cable routing
- Your home has many obstructions
Final Thoughts
Installing Starlink is surprisingly easy compared to traditional satellite internet systems.
In most cases, you can complete the entire setup in under 20 minutes and start enjoying high-speed satellite internet anywhere.
For rural homes, remote work, and streaming, Starlink is one of the best internet solutions available today.

Advanced Tips for Starlink Installation
Choosing the Best Location for Your Dish
While the Starlink app helps you check for obstructions, it’s a good idea to physically inspect your property. The best spots are usually:
- Roof tops with a clear 360-degree sky view
- Open backyards away from trees or tall walls
- Elevated platforms like small towers or poles
Make sure the dish is stable and secure so it doesn’t move during strong winds.
Using Optional Mounting Accessories
Starlink provides a basic tripod stand, but for long-term installations, you might consider:
- Roof mounts for permanent setups
- Pole mounts for better elevation
- Cable management clips to avoid tangling or tripping hazards
These optional accessories can improve signal reliability and help your dish last longer.
Troubleshooting Common Issues
Even with a simple setup, you might encounter minor issues:
- Dish Not Aligning – Check if the base is level and the cable is connected properly.
- Wi-Fi Not Appearing – Restart your router using the Starlink app.
- Obstruction Warnings – Move the dish a few feet or clear branches for a better view.
Using the Starlink app, you can quickly detect and fix these problems without professional help.
Optimizing Your Internet Speed
Once installed, there are a few ways to get maximum performance:
- Avoid placing the dish near metal objects or reflective surfaces
- Keep your router elevated for better Wi-Fi coverage
- Minimize interference from other devices by using the 2.4 GHz or 5 GHz band as needed
- Regularly check the Starlink app for updates and alerts
Starlink for Remote Work and Gaming
With speeds ranging 50–250 Mbps and low latency, Starlink can handle:
- Video conferences with multiple participants
- Online gaming on consoles and PCs
- Streaming 4K content on multiple devices simultaneously
If your work relies heavily on uploading files to the cloud, Starlink’s upload speeds of 10–30 Mbps are sufficient for most professional tasks.